Happy…Saturday?!? Alright, alright you caught me…what the heck am I doing posting on a Tuesday and Saturday and no hump day?! Hear me out.
I hate when people make excuses, so I’m not going to make any. Besides saying that these next two weeks are off the charts nutso, from more blogging to-do’s and client to-do’s to FLYING TO SEATTLE (!!!!!!!!). Excuse me as I simply cannot contain my excitement and I can’t focus on blogging coherently because I’ve been hopping around high on life and dark chocolate. #cantstopwontstop I’m now in Seattle and I’m high on coffee and fresh air, and this is EXCITING.
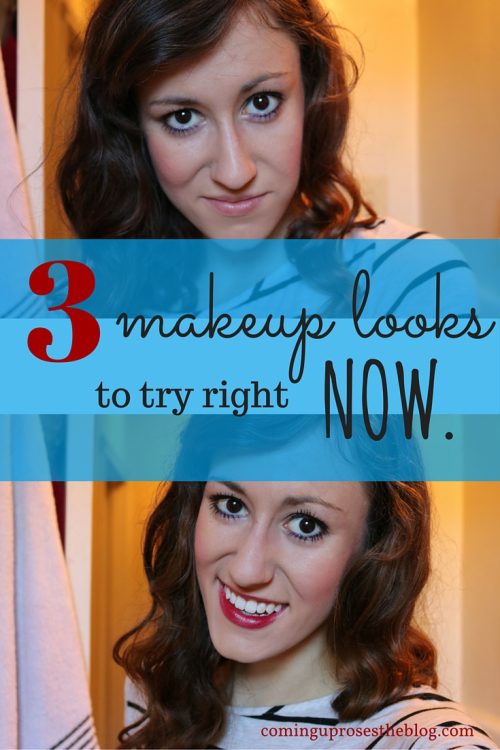
Today, I wanted to share a lil’ something with you that I think is fun and not the most typical around Coming Up Roses headquarters – a photo-by-photo makeup tutorial. But really, it’s like a tri-torial, because there’s THREE looks about to come atcha. (See what I did there?)
So you know those groups on Facebook that sell makeup? You know you know ’em…they’re “parties”where you only really have fun if you’re given free things, otherwise the fun comes after you drop a few bucks on products that you weren’t really totally planning to spend on lip stains or eye palettes…and what the heck are fiber lashes anyways?!?
I’ll tell you what they are.
They are God’s gift to eyelashes.
And those parties are what brought fiber lashes to being, so you can never complain about one ever again – they’re *worth it*.
I first became acquainted with fiber lashes and the Younique name through my friend Sarah, who totally slays as a beauty saleswoman and has traveled all over the country courtesy of her company. Baller status right there, ladies and the occasional gents. She sent me the original 3D Moonstruck fiber lashes from Younique, and this is what I though about ’em. So I figured I’d give a few more Younique products a go, just because I had to see. I had to see what the hype was all about and basically figure out if seeing all of the craziness on Facebook was worth it or not.
Um…it’s worth it.
I’ve got easy eyeshadow contouring, eyeliner colorblocking, and a lip stain perfecting tip, all coming in 3, 2, 1…
Eyeliner Colorblocking
I totally made this term up. But I think it’s quite fitting, so we’re stickin’ with it. Eyeliner colorblocking simply means using two different color eyeliners in the same look – one on your upper lashline, and one on the lower. Here’s the kicker: one has to be colored.
Since I’ve got dark-as-night eyes, purples and greens look best on me. I used two Younique Moodstruck Precision Pencil Eye Liners – “Perfect”, which is a rich black, and “Passionate”, a vibrant purple. I opted to line my upper lid with the neutral black color and use the plum shade on my lower lashline to stand out, but you can reverse it if you so choose and use colored on top and black (or any other neutral) on le bottom.


Eyeshadow Contouring
Contouring is like the holy grail of makeup art. Once you can contour something without looking like a zebra, you’ve struck gold. For this look, I used The Addiction 2 shadow palette, which is like a blend between the original Naked palette and the Naked Smoky – full of cooler toned greys, silvers and similar neutrals for everyday use or to build for a true smoky eye.
I used the shade “Honorable” (third in from the left) as my base to start out, covering my entire lid.
Then, choose a slightly darker shade (think of it like one step up in darkness, otherwise it’ll be too much of a stark contrast and won’t blend well!) for the outside corner of your eye. I used “Perplexed” (second from the right) and smudged all around the outside corner, slightly into about halfway on my eyelid.
I took a lighter, more shimmery shade next to put in my crease (“Hopeless” – first on the left!) and a bit onto my brow bone. If you’re using shimmer, though, go easy on the brow bone – shimmer as a highlighter can end up being flat out sparkly and overwhelming!
Once you’re done with each piece, so to speak, grab your original base color again to brush over your entire lid lightly, making sure everything blends together flawlessly and doesn’t look like blocks of color next to each other.


Longlasting Lip Stain
Lip stains can be aggravating as heck. They’re either ridiculously drying where your lips end up reminiscent of a red Sahara, or they’re ridiculously wet and require dry time before speaking, eating, or drinking coffee (hence, problematic). Plus, it’s a stain. So when you’ve got this longlasting, hyperpigmented product that you’re putting on your face, you can’t risk getting it somewhere it’s not meant to be.
The Younique Stiff Upper Lip Lip Stain is b-o-l-d. You guys know I’m all for a bright, bold lippy, so I definitely appreciate this. However, these stains are BOLD. They’re on the wetter side, and you can’t tap your lips together after applying lest all of your upper lip product moves down to the bottom. SO, tips for making your lip stain go on and stay on flawlessly:
- Start with a lip balm base. Apply your favorite moisturizing balm, that way you’ve got a good foundation that also keeps your pucker hydrated if your stain is a bit more on the dry side.
- Line ’em up. I don’t typically use lip liner, but it helps a LOT when you’re got a really pigmented liquid that you’re trying to carefully apply on just your lips. Plus, it creates a lil’ barrier to prevent product from spidering around the outside onto your face.
- Apply twice as much to your upper lip as lower. Just because at least for me, any lip product is harder to stay put up there than down below.
- Blot after applying, then add your favorite moisturizing lipstick. Make sure your lipstick color matches the stain color (le duh), and you’ll be set for suuuuuuper long lasting color that doesn’t leave your smoocher gasping for hydration.
Make sure you’re applying any sortof lip stain after exfoliating your lips, because stains sink into any crevices, lines, or little unwanted dry patches. For smooth application and longlasting wear that’s even stevens, rub ’em down first with gentle exfoliation.


AND VOILA. Three tips to hopefully make your makeup life a whole lot easier.
I’m not a Younique presenter by any means, nor a pro makeup artist by ANY MEANS, so take courage knowing if I can do it, pretty much anyone can. Forrealz. Younique products range from being vegan-friendly, gluten free, fragrance free, dye free, paraben free, latex free, sulfate free, BPA free, cruelty free and not tested on animals, so it feels pretty good using products that have heart. Grab 3D Fiber Lashes+ here, because you deserve to treat yo’self.
Which of these looks would you try yourself? And what fun makeup look have you been loving lately?
Let me know in a comment down below, and cheers to coffee cup #4. Hit up le Instagram for Seattle updates and adventures!